
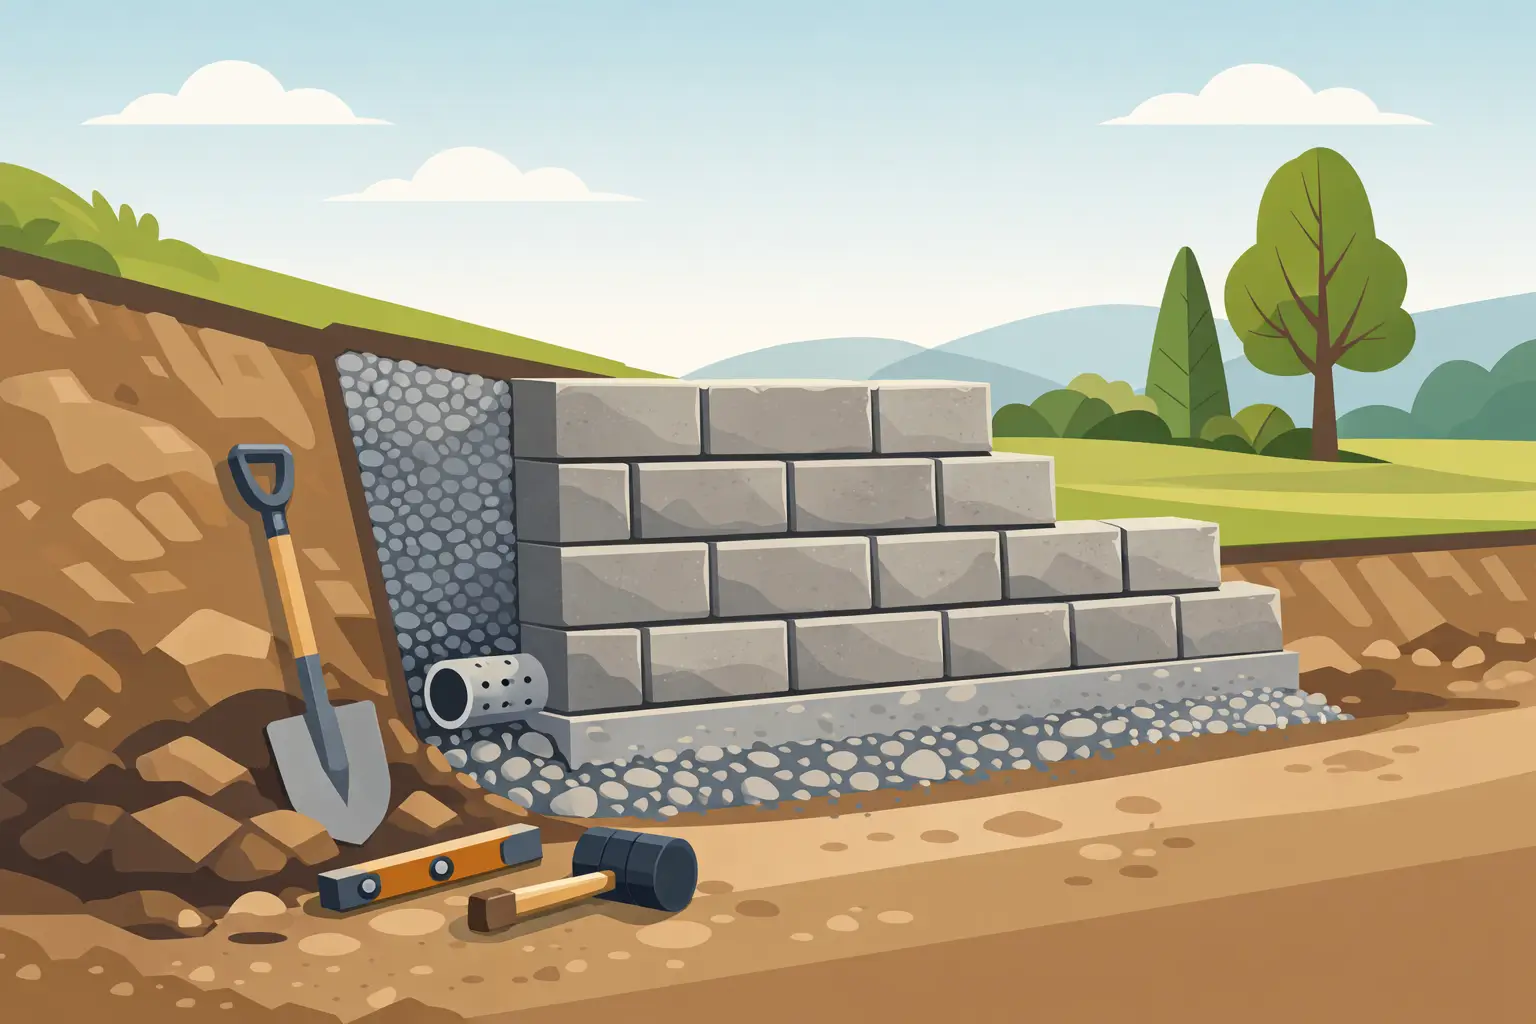
A retaining wall can turn a sloped, washed-out, or hard-to-use section of your yard into a clean, functional outdoor space. Knowing how to build a retaining wall starts with more than choosing attractive blocks. The wall has to manage soil pressure and water, especially in East Texas, where heavy rain and shifting clay soil can expose shortcuts quickly.
A low garden wall may be a manageable project for an experienced homeowner. A taller wall, a wall near a driveway or home, or one holding back a significant slope needs professional planning and construction. The goal is not simply to stack materials. It is to create a stable landscape feature that improves drainage, protects your property, and looks right at home in your yard.
Start With the Wall’s Purpose and Location
Before marking the first line, decide what the retaining wall needs to accomplish. It may create a level patio area, hold soil away from a fence, manage a grade change, define planting beds, or help direct water away from your home. That purpose affects the wall’s height, shape, material, drainage needs, and footing requirements.
Walk the area after a hard rain if possible. Look for standing water, erosion channels, soft soil, and runoff that travels toward the house. A wall installed without considering existing drainage can trap water behind it. That added pressure is one of the most common reasons retaining walls lean, crack, or fail.
Also check for utility lines, irrigation components, and nearby structures. Call before digging so underground utilities can be marked. If the wall is near a property line, confirm the boundary before construction begins. A wall that crosses onto a neighbor’s property can create an expensive problem that has nothing to do with workmanship.
Know When a Retaining Wall Needs Professional Design
Height matters. In many areas, retaining walls over 4 feet tall, measured from the bottom of the footing to the top of the wall, may require permits or engineered plans. Local requirements can vary, and walls supporting a driveway, building, steep slope, or additional load may need engineering even when they are shorter.
This is not just paperwork. Taller walls carry substantial soil pressure. They often need reinforcement grid, carefully selected backfill, deeper excavation, and a drainage system sized for the site. Stone, timber, poured concrete, and segmental concrete blocks all have different installation requirements.
For a straightforward decorative wall under 3 feet, interlocking retaining-wall block is often a practical choice. It offers a finished appearance and is designed to work with proper base material and drainage. For structural walls, uneven terrain, or drainage concerns, an on-site evaluation is the safer starting point.
Gather the Right Materials Before You Dig
The exact material list depends on the wall system and site conditions, but most block retaining walls require the following:
- Interlocking retaining-wall blocks and capstones
- Crushed stone or road base for the leveling pad
- Clean drainage gravel for backfill
- Perforated drain pipe and a suitable outlet path
- Landscape fabric to separate soil from drainage stone
- A hand tamper or plate compactor, level, shovel, string line, and rubber mallet
Do not substitute loose native soil for compacted base material. East Texas clay can hold moisture and expand or contract as conditions change. A properly compacted crushed-stone base provides a more stable foundation than soil alone.
Excavate a Wide, Level Trench
The base trench is where long-term performance begins. Mark the wall’s face with stakes and string, including any curves. Then excavate a trench wide enough for the blocks and enough base material on either side to support them. The trench usually needs to be deeper than homeowners expect because the first course should be partially buried.
For many block systems, burying part of the first course helps prevent the wall from sliding forward and gives the finished wall a grounded appearance. Follow the block manufacturer’s guidance for burial depth, base thickness, and setback. These details are not interchangeable between products.
Remove loose soil from the trench bottom and create a firm, even grade. If the wall follows a slope, use stepped sections rather than trying to run the base at an angle. Each section should begin on a level, well-compacted base. A wall can only be as level as the first course beneath it.
Build and Compact the Base
Add crushed stone or road base in thin layers, then compact each layer thoroughly. A plate compactor provides the most consistent result on larger walls, while a hand tamper may work for a small garden project. Check the base frequently with a level and a straight board.
This step takes patience, but it is where many DIY walls go wrong. Adding all the base material at once and compacting only the top leaves soft spots below. Those areas can settle over time, creating uneven courses and gaps between blocks.
The finished base should be level from side to side. Along the length of the wall, follow the planned stepped layout. Make adjustments now rather than trying to correct them after several rows of blocks are installed.
Set the First Course With Care
Place the first block at the lowest point of the wall, usually at one end or the center of a curved layout. Set each block firmly on the compacted base, checking level front to back, side to side, and against adjacent blocks. Use a rubber mallet for small adjustments.
Take extra time here. If the first row is uneven, every course above it will follow that error. A wall that appears only slightly out of level at the base can become visibly crooked by the top.
As you place the first course, maintain the intended wall line with your string guide. Brush away gravel and debris from block surfaces before placing the next row. Small pieces of stone caught between blocks can affect alignment and create unwanted gaps.
Add Drainage Before Building Higher
Every retaining wall needs a plan for water. Install perforated drain pipe behind the first course, with the perforations positioned according to the pipe manufacturer’s instructions. Surround the pipe with clean drainage gravel, not soil, and make sure it has a path to daylight or another approved drainage outlet.
Place landscape fabric between the native soil and drainage gravel. The fabric helps prevent fine soil particles from washing into the gravel and clogging the system. Do not wrap the entire wall in fabric so tightly that it prevents water from reaching the drain zone. The goal is separation, not a sealed container.
Backfill behind the wall as each course is installed. Add drainage gravel directly behind the blocks and compact it in manageable lifts. Keep soil backfill farther behind the gravel zone. This combination reduces water pressure and gives the wall a stable structure behind its finished face.
Stack, Reinforce, and Finish the Wall
Install additional courses according to the block system’s pattern, typically offsetting vertical joints from one row to the next. Check alignment and level every few blocks, not only at the end of a course. Most retaining blocks are designed with a built-in setback, which creates a slight backward lean into the slope. That lean improves stability.
If your wall design calls for geogrid reinforcement, install it exactly where specified. Geogrid extends back into the soil and helps the wall resist pressure from the retained slope. It must be laid flat, pulled taut, and covered with properly compacted fill. Skipping it on a wall that requires reinforcement is not a minor shortcut.
Once the wall reaches its planned height, install capstones with an exterior-grade landscape block adhesive. Finish the area above and behind the wall so water drains away from the structure. A gentle slope, well-placed planting bed, or gravel border can keep the finished project looking clean while protecting the wall from concentrated runoff.
Avoid the Shortcuts That Cause Wall Failure
The most common retaining-wall problems are predictable: a shallow or poorly compacted base, no drain pipe, clay soil packed directly against the blocks, and a wall built too tall without reinforcement. Another frequent issue is directing roof runoff behind the wall. Downspouts should carry water away from the retained area, not add to it.
Appearance matters, but stability comes first. A beautiful wall that begins leaning after one wet season is not a good value. In Tyler and surrounding East Texas communities, soil conditions and stormwater often make drainage work part of the retaining-wall project, not an optional add-on.
A well-built retaining wall should make the rest of your outdoor space easier to enjoy. It can create room for a patio, protect a fence line, shape planting areas, and bring order to a difficult slope. If the grade, drainage, or wall height raises questions, a local assessment from Cullz Outdoor LLC can help turn that challenging section of the yard into a lasting improvement.
Leave a Reply