
A new lawn can change the way a property feels in a single day, but sod installation is only as successful as the work beneath it. Fresh green sod can cover bare soil quickly, improve curb appeal, and give kids and pets a cleaner place to play. Still, if the ground is uneven, compacted, or holding water in the wrong places, the lawn may struggle long after installation day.
For homeowners in Tyler and across East Texas, a lasting lawn starts with a plan that accounts for heat, rainfall, soil conditions, sun exposure, and how the yard is used. The goal is not simply to make a yard look green this week. It is to establish turf that roots well, drains properly, and holds up through the seasons.
Why Sod Installation Starts With Site Preparation
Sod is mature grass with a thin layer of soil and roots attached. Once it is cut from the sod farm, it needs quick contact with prepared soil so its roots can begin growing into the yard below. Laying sod over existing weeds, hard-packed dirt, or uncorrected low spots may produce an attractive first impression, but it often leads to thin areas, weeds, and uneven growth later.
A professional site evaluation should look at the full condition of the yard. Is water pooling near the foundation? Does the slope direct runoff toward a patio, fence, or low area? Are there deep shade zones beneath mature trees? Does the existing soil need to be loosened or improved? These details affect whether the sod takes root and whether it receives the moisture it needs without staying saturated.
The old lawn, weeds, rocks, roots, and construction debris should be removed before installation. The soil is then graded to create a smooth, functional surface. This is the stage where drainage concerns should be addressed, not after the new grass begins to fail. A yard may need subtle grading changes, drainage improvements, or a retaining solution before sod is installed, especially on properties with standing water or erosion.
After grading, the soil should be loosened enough to support rooting and then lightly compacted for a stable, level base. The finished grade should sit below sidewalks, driveways, and other hard surfaces so the sod does not end up too high once installed.
Choosing Sod That Fits an East Texas Yard
Not every sod variety performs the same way in every lawn. East Texas heat, changing rainfall, clay-heavy soil, and a mix of open sun and wooded lots make grass selection a practical decision, not just a color choice.
Bermudagrass is a common fit for sunny lawns because it handles heat, recovers well from foot traffic, and grows vigorously during the warm season. It is often a strong choice for active backyards, open front yards, and areas where children or pets regularly play. Its main trade-off is that it needs plenty of sunlight. In dense shade, it will thin out regardless of how carefully it is watered.
St. Augustine is valued for its broader blades and full appearance. It can tolerate more shade than Bermuda, though it still needs several hours of filtered or direct light to stay healthy. It can be a good option around homes with established trees, but it needs consistent care and may not be the best fit for heavy traffic areas.
Zoysia creates a dense, refined lawn and can offer good drought tolerance once established. It generally grows more slowly than Bermuda, which can mean less frequent mowing, but it also recovers more slowly from damage. The right choice depends on the property, the amount of shade, the desired look, and how much use the lawn receives.
A customized recommendation is worth more than selecting sod based on what looks best in a neighbor’s yard. The same variety can perform very differently from one lot to the next.
The Right Timing for Laying Sod
Sod can be installed during much of the year in East Texas when the ground is workable and the turf can receive proper care. Spring and early fall are often favorable because temperatures are less extreme, but summer installation can also be successful with careful watering and fast installation.
During high summer heat, sod should be delivered, laid, and watered promptly. Rolls left sitting in the sun can heat up quickly, stressing the grass before it ever reaches the soil. A homeowner should also be realistic about the watering commitment. New sod in hot, dry weather may need more frequent attention than sod installed during a milder, wetter period.
Winter sod installation can work for warm-season grasses when the turf is dormant, but rooting will be slower. That makes site preparation especially important. A dormant lawn may look settled at first, then reveal low spots or drainage problems when spring growth and heavier rains arrive.
What Quality Sod Installation Looks Like
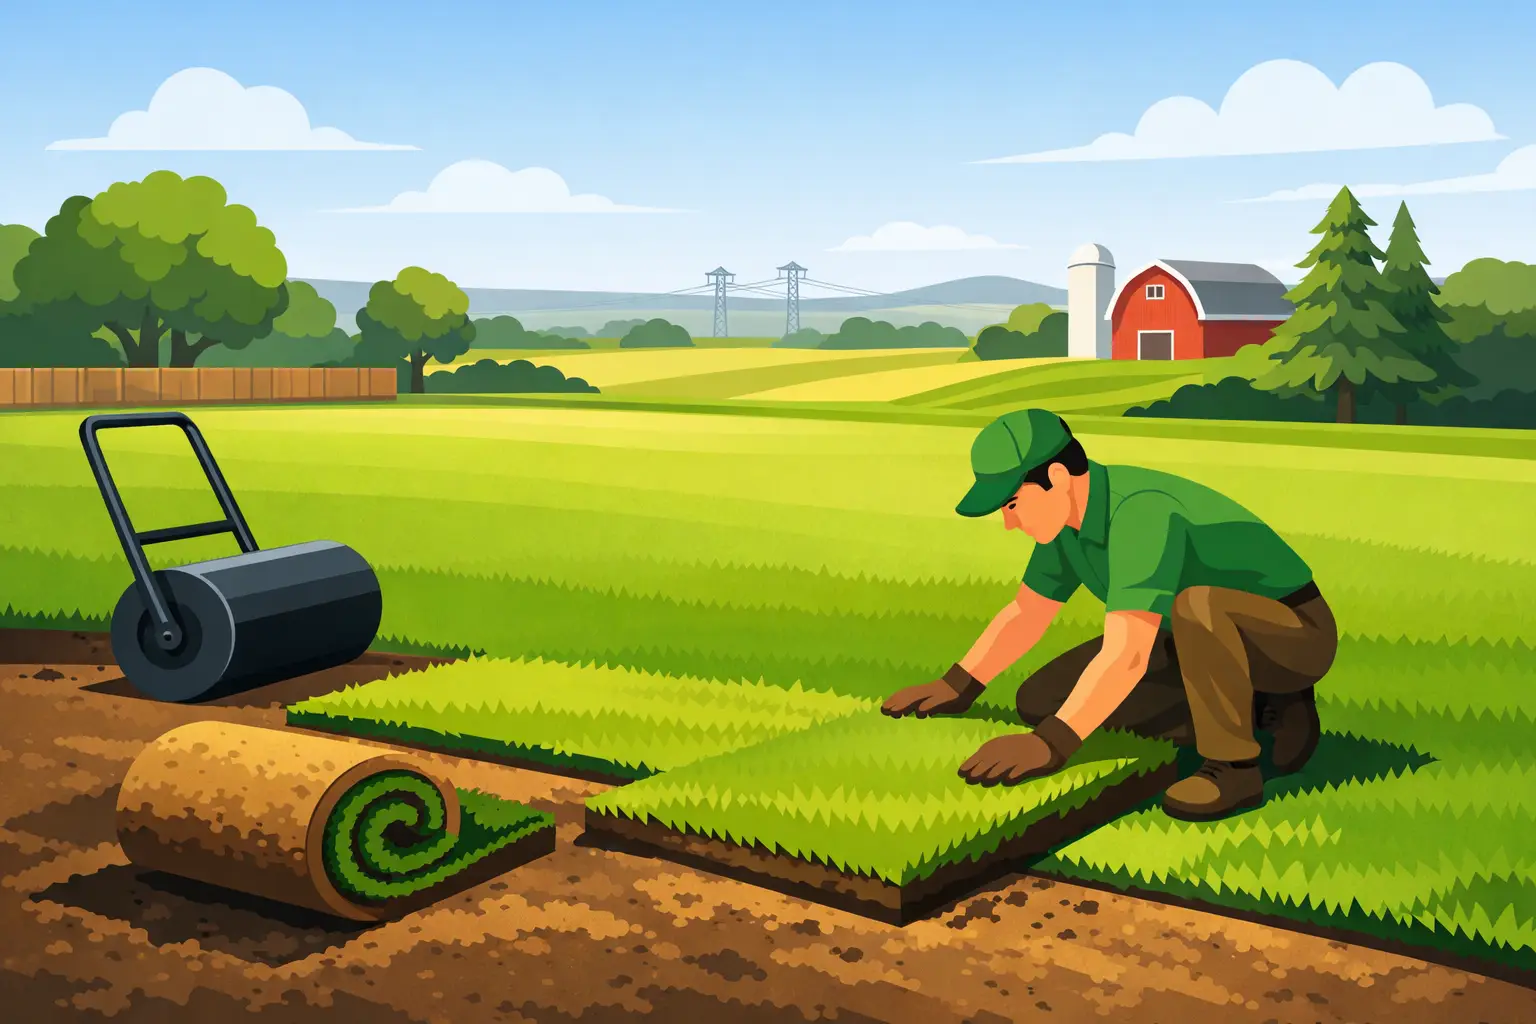
A clean installation begins with fresh sod and a prepared base. The pieces should be laid tightly together in a staggered pattern, similar to brickwork, rather than lined up in long continuous seams. Staggered seams help create a more stable lawn and reduce visible gaps as the sod settles.
Each piece should have firm contact with the soil beneath it. Air pockets prevent roots from reaching the ground and can cause sections to dry out. A lawn roller is often used after installation to press the sod into the soil, improve contact, and create a more even finished appearance.
Edges around beds, walkways, trees, and hardscape features need careful cutting. This is where workmanship shows. Loose strips, oversized gaps, and poorly fitted edges can dry out faster and leave the lawn looking unfinished. On slopes, sod may need additional attention to prevent movement before roots establish.
The lawn should be watered immediately after installation. The first deep watering is not optional. Moisture needs to reach through the sod and into the top layer of prepared soil, encouraging the roots to grow downward rather than remaining dependent on surface moisture.
Watering and Aftercare During the First Month
The first few weeks determine whether sod establishes as one connected lawn or becomes a collection of stressed patches. The goal is consistent moisture, not constant puddling. Too little water allows seams and edges to dry out. Too much water can create soft soil, encourage disease, and limit healthy root development.
For the first seven to 10 days, new sod usually needs frequent watering to keep the sod and upper soil moist. In hot weather, that may mean checking the lawn more than once a day. As the roots begin to establish, watering should transition to longer, deeper sessions less often. This encourages roots to move into the native soil, where they can better handle heat and dry stretches.
Avoid heavy foot traffic while the sod is rooting. Keep pets, children, lawn equipment, and outdoor furniture off the new lawn as much as possible for the first couple of weeks. If a sod piece lifts easily when gently tugged, the roots have not fully taken hold yet.
The first mowing should wait until the sod is rooted and actively growing. Use a sharp mower blade and avoid cutting more than one-third of the grass height at a time. A dull blade can tear young grass and leave it vulnerable to stress. Fertilizer should also be based on the grass type, season, and soil condition rather than applied automatically on installation day.
Common Problems That Can Be Prevented Early
Most sod problems are tied to one of a few preventable issues: inadequate preparation, poor drainage, incorrect grass selection, gaps between pieces, or inconsistent watering. A lawn may also struggle where shade has increased over time as trees mature. Sod cannot solve a light problem by itself.
Low spots deserve special attention. They may appear minor on a dry day, but they can collect water after a heavy East Texas rain and weaken turf roots. Likewise, compacted soil can make it difficult for water and air to move through the root zone. In these cases, adding sod without correcting the underlying condition is usually a short-term cosmetic fix.
Homeowners planning fence work, a patio, a retaining wall, or drainage improvements should consider the project sequence before installing sod. It is typically more efficient to complete digging, grading, and structural work first, then finish the space with a new lawn. This avoids damaging fresh turf with equipment or trenching after the fact.
A Lawn Built for More Than Curb Appeal
A well-installed sod lawn gives a home a finished, cared-for appearance, but its value goes beyond looks. It can make outdoor spaces more usable, reduce bare soil and mud, define planting beds and hardscape areas, and create a comfortable setting for everyday life.
Cullz Outdoor LLC helps homeowners build outdoor spaces that work as well as they look, from grading and drainage concerns to sod, fencing, landscaping, and more. If your yard is ready for a fresh start, begin by looking below the surface. A properly prepared lawn gives new sod the foundation it needs to grow strong for years.
Leave a Reply